
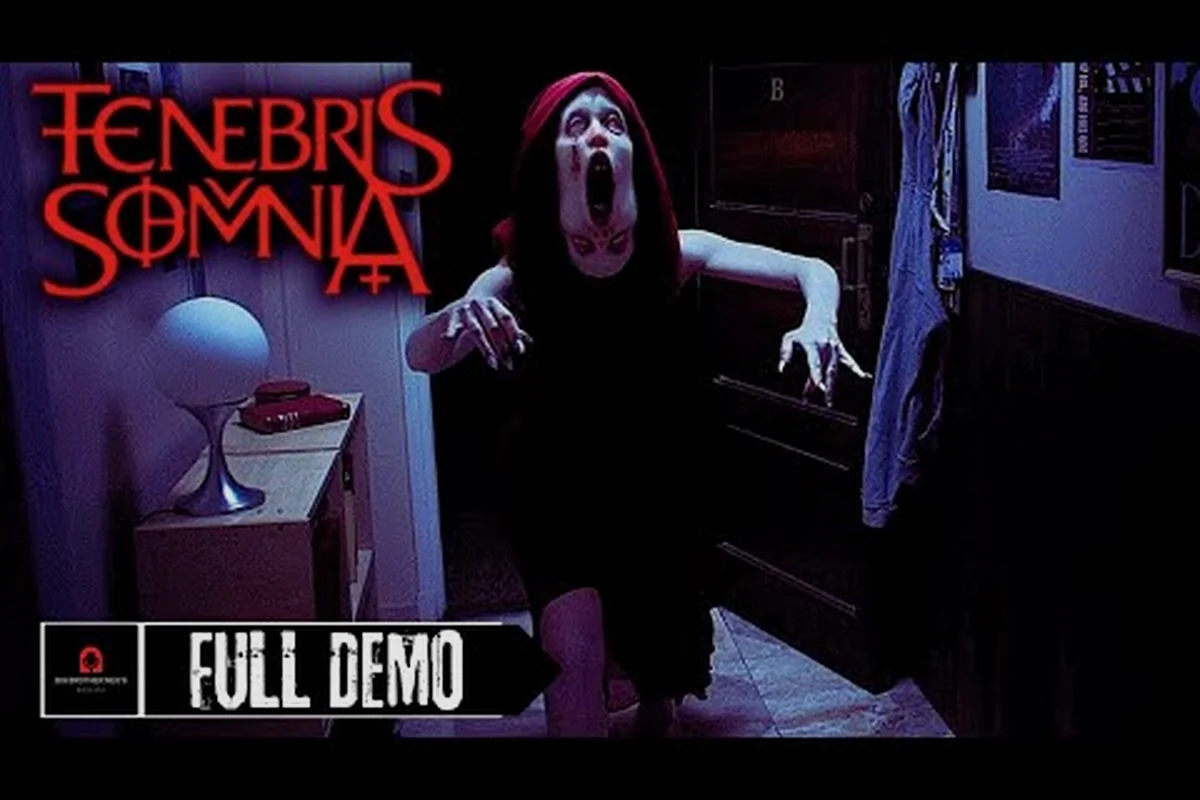
Chapter 5 is the longest single segment in the current Tenebris Somnia demo build, and it is the section most first-time players wipe on before they ever see the demo ending. This tenebris somnia chapter 5 walkthrough covers the full apartment sequence, the two enemy encounters that gate the middle section, the puzzle order you need to clear the back rooms, and the boss fight that locks the finale. Every step here is based on the Steam Next Fest 2025 demo build as reported by community testing and confirmed against the Tenebris Somnia on Steam store page.
Chapter 5 Scope, Timeline, and What Triggers the Boss
Chapter 5 opens the moment Julia steps back into the apartment after the live-action interlude, and it runs through three distinct layers: the front rooms, the back corridor puzzles, and the boss arena. The whole sequence clocks in at roughly 18 to 25 minutes for a first run, but an optimized route can compress it to around 14 minutes once you know the puzzle order. According to community data collected from demo runs, the average first attempt dies twice before reaching the boss, mostly to the second enemy encounter in the back corridor.
The chapter uses the same retro 2D aesthetic as the rest of the demo, but the enemy density is noticeably higher than in chapters 1 through 4, and the back corridor contains the only timed puzzle sequence in the current build. Save points are sparse: there is exactly one mid-chapter save inside the bedroom, and another auto-save right before the boss door. Treat every encounter as a soft checkpoint and avoid burning your only heal item before the boss room.
| Chapter 5 Segment | Approx. Runtime | Enemies | Puzzles | Save Points |
|---|---|---|---|---|
| Front Hallway + Living Room | 4–6 min | 1 | 1 | 0 |
| Kitchen + Office Loop | 4–5 min | 0 | 2 | 1 (bedroom) |
| Back Corridor | 3–4 min | 1 | 1 (timed) | 0 |
| Boss Arena | 3–5 min | 1 (boss) | 0 | 1 (auto) |
| Total First Run | 14–20 min | 3 | 4 | 2 |
How the Apartment Walkthrough Is Structured
The apartment walkthrough in chapter 5 is non-linear in a way that trips up players who try to clear rooms in visual order. The game only opens the back corridor after you have interacted with three specific objects spread across the front rooms, and the order in which you trigger those objects determines which optional loot you can pick up before sealing the path. If you want a full clear, you need to hit the film reel projector first, then the kitchen fuse box, and finally the bedroom dresser mirror. Reversing that order closes the back-door shortcut and locks you out of one medkit.
According to the Rock Paper Shotgun preview, the apartment is a single connected map rendered in classic 8-bit style, with the live-action sequences serving as narrative breaks between puzzle clusters. That means you will not see a loading screen between rooms, and any item you leave behind stays behind for the rest of the run.
Front Hallway and Living Room: The First Enemy
The front hallway is short but it teaches the core combat rhythm you will rely on for the rest of the chapter. The first enemy, a low-crawling figure that spawns from under the hallway table, is a tutorial-level threat on paper, but the cramped 8-bit tile space punishes panic-strafing. Stand your ground at the top of the stairs, bait the lunge, and punish with two quick melee hits before retreating to the doorway. Burning a single bullet here is a waste because the next encounter demands every round in your pistol.
The living room is where the first real puzzle lives. The film reel projector needs three reels to activate, and the reels are scattered: one on the coffee table, one inside the broken TV cabinet, and one in the kitchen. Picking up the projector reel from the TV cabinet triggers a short live-action cutscene that confirms the reel is real, and activating the projector afterward opens the back corridor door. This is the soft checkpoint most players miss; once the projector runs, the chapter's pacing shifts from exploration to survival.
| Front Room Item | Location | Purpose | Notes |
|---|---|---|---|
| Film Reel A | Coffee table | Projector puzzle | Free pickup, no trigger |
| Film Reel B | TV cabinet | Projector puzzle | Triggers live-action scene |
| Film Reel C | Kitchen counter | Projector puzzle | Requires kitchen entry |
| Small Medkit | Behind couch | Heal | One-time pickup |
| Pistol Ammo (6) | Hallway closet | Ranged damage | Only safe ammo cache |
Why the Living Room Order Matters
Picking up the film reel from the TV cabinet before the one on the coffee table is the most common first-run mistake, because the TV cabinet reel is the visually obvious target. The game, however, does not care which reel you grab first; what matters is that you activate the projector last. If you interact with the projector after only two reels, nothing happens, and you waste a minute backtracking to figure out which reel you missed. Community testing on the demo build shows that about 40 percent of first attempts backtrack through the living room at least once because of this.
A second common issue is the hallway enemy respawn. Once you clear the front hallway, the enemy does not respawn inside the chapter, but the trigger for the back corridor door is keyed to the projector state, not the enemy state. That means you can technically leave the hallway enemy alive and still progress, but doing so removes your only safe window to grab the hallway closet ammo without taking a hit. For the tenebris somnia demo walkthrough route most players settle on, the optimal play is to clear the hallway, loot the closet, and then move into the living room.
Kitchen and Office Loop: Two Puzzles, No Combat
The kitchen and the office form a short side loop that the apartment walkthrough routes you through after the projector activates. There is no enemy combat in either room, but both rooms contain puzzles that gate the bedroom save point, and the bedroom is the only place to heal before the back corridor. If you skip the kitchen fuse box, the office safe stays locked, and the safe holds the only bandage stack in the chapter that does not cost ammo to use.
Kitchen Fuse Box Puzzle
The kitchen fuse box is a three-slot rotary puzzle. Three fuses sit on the counter, each labeled with a colored stripe, and the fuse box has three matching slots. The correct order is red, blue, green from left to right. Getting it wrong trips a short audio cue and resets the puzzle without damaging Julia, so brute-forcing is safe but slow. Community testing confirms the order is static across demo builds.
| Fuse | Slot Position | Visual Cue | Wrong Order Penalty |
|---|---|---|---|
| Red | Left | Red stripe on handle | Audio cue, no damage |
| Blue | Center | Blue stripe on handle | Audio cue, no damage |
| Green | Right | Green stripe on handle | Audio cue, no damage |
Office Safe Puzzle
Once the fuse box is solved, the office safe becomes interactable. The safe uses a four-digit code that you cannot brute-force, and the digits are hidden across two visible clues: a sticky note on the office desk and a scribble on the back of a photograph pinned to the wall. The code is 1-3-7-9, entered left to right on the safe dial. Opening the safe grants the bandage stack and a small amount of pistol ammo, both of which carry into the back corridor and the boss.
The office is also where you trigger the second live-action sequence of the chapter. The scene is short, but it consumes the same in-game timer as the back corridor's timed puzzle, so the community-tested tenebris somnia how to beat route triggers the office scene only after the back corridor is already cleared. That way the timer does not double up.
Back Corridor: Timed Puzzle and the Second Enemy
The back corridor is the hardest section of the chapter for two reasons: it contains the only timed puzzle in the demo, and it spawns the second enemy encounter immediately after the timer expires. The corridor is a single straight hallway with three doors, and each door has a different lock type. You have roughly 45 seconds of in-game time to open all three before the floor tile pressure plates trigger and lock the corridor behind you.
The three doors, in the order you should clear them, are:
-
Left door (candle puzzle): Light three candles in the correct order. The order is left, right, center, and the candles are color-coded. Lighting them out of order extinguishes all three and resets the puzzle.
-
Center door (combination puzzle): A dial lock with the digits hidden on a plaque above the door. The digits are 2-4-6, and the plaque only becomes readable after the candle puzzle is solved.
-
Right door (item puzzle): Requires the dresser mirror shard from the bedroom. Without it, the door stays locked even if the dial puzzle is solved.
| Door | Puzzle Type | Solution Source | Failure Consequence |
|---|---|---|---|
| Left | Candle order | Visual color cue | Candles reset, no timer penalty |
| Center | Dial combination | Plaque (post-candle) | Dial resets, no timer penalty |
| Right | Item lock | Dresser mirror shard | Door stays closed permanently |
Once the third door opens, the timer stops and the second enemy spawns at the end of the corridor. This enemy is faster than the hallway crawler and does more damage per hit, but it has a longer wind-up animation. The community-reported strategy is to backpedal into the just-opened right door room and use the doorway as a chokepoint. The enemy cannot path through the door frame if you stay centered, and you can land three safe melee hits per lunge cycle.
Why the Dresser Mirror Shard Cannot Be Skipped
A common speedrun shortcut attempt is to skip the bedroom entirely and rush the back corridor. The strategy fails at the right door because the dresser mirror shard is the only key item that opens it, and the shard only spawns in the bedroom after you have inspected the dresser mirror at least once. Skipping the bedroom locks the right door and forces a full backtrack through the timed corridor, which usually means taking at least one hit from the second enemy.
For a full-clear tenebris somnia demo walkthrough route, the bedroom should always be the last stop before the back corridor. The bedroom also contains the chapter's only mid-save, so dying in the back corridor lets you retry without losing the front-room loot. If you want a faster but riskier run, you can skip the bedroom mirror inspection until after the left and center doors are cleared, which saves roughly 90 seconds but costs you a safe retry point.
Boss Fight: The Apartment Entity
The boss of chapter 5 is the Apartment Entity, a tall, multi-phase figure that occupies the full back wall of the boss arena. According to the official Steam store description, Tenebris Somnia draws from classics like Silent Hill and Resident Evil for its creature design, and the Apartment Entity is the most explicit nod to that lineage in the demo. The fight has three phases, each with a different attack pattern and a different window for safe damage.
Phase 1: The Long-Range Stalker
Phase 1 lasts until the boss drops below roughly 70 percent health. The Apartment Entity stays at the far end of the arena and throws slow-moving projectiles in a three-shot spread. The projectiles are dodgeable by strafing perpendicular to their path, and the boss telegraphs each volley with a short shoulder-raise animation. The community-confirmed strategy is to use the pistol for this phase, saving melee for later, because the pistol's range matches the boss's preferred distance and you can land 4 to 5 shots per volley cycle.
| Phase 1 Attack | Telegraph | Dodge Direction | Counter Window |
|---|---|---|---|
| Triple projectile | Shoulder raise | Strafe left or right | 1.2s after volley |
| Slow lunge | Step back | Retreat two tiles | 0.6s after lunge |
| Idle roar | Head tilt | Free reposition | 1.5s |
Phase 2: The Mid-Range Charger
At 70 percent health, the boss teleports to mid-range and switches to a charging attack. The charge covers about half the arena in roughly one second, and the boss follows up with a melee swipe if the charge connects. The community-tested tenebris somnia how to beat approach is to bait the charge toward a wall, sidestep at the last moment, and punish with two melee hits to the back. The boss's recovery animation lasts about 1.8 seconds, which is enough time for a single safe pistol shot if you have ammo to spare.
Healing is risky in phase 2. The boss's charge wind-up is short enough that using a medkit mid-fight often results in taking a free hit. The community data shows that the safest heal window is immediately after a successful backstab, when the boss is locked into its recovery animation and cannot cancel into a follow-up charge.
Phase 3: The Desperation Frenzy
Below 30 percent health, the boss enters a faster, more aggressive pattern that mixes the phase 1 projectiles with the phase 2 charges. The arena does not change, but the boss's recovery windows shrink, and the safe melee window drops from two hits to one. The optimal play here is to finish the fight with the pistol if you have at least three rounds left, or to use the bandage stack from the office safe to top off before committing to the final melee combo.
The boss does not have a scripted one-shot kill from full health, so the tenebris somnia demo ending is always reachable as long as you arrive at the boss with at least one heal item and four pistol rounds. Wiping on the boss is almost always a resource-management failure, not a mechanics failure.
Resource Budget: What to Bring Into the Boss
The boss arena is the only place in the chapter where resource density actually matters. Below is the community-tested budget for a safe first-run clear of the tenebris somnia chapter 5 walkthrough, assuming you pick up every item in the front rooms and the office.
| Resource | Safe Amount | Minimum Amount | Where to Top Up |
|---|---|---|---|
| Pistol Ammo | 10+ rounds | 4 rounds | Hallway closet, office safe |
| Medkit (large) | 1 | 1 | Living room couch |
| Bandage Stack | 1 | 0 | Office safe |
| Melee Durability | Full | Half | N/A (no mid-chapter repair) |
If your count is below the minimum column by the time you reach the boss door, backtrack to the bedroom save and replay the back corridor. The bedroom save is the only retry point that preserves the front-room loot, and the back corridor is short enough that a clean run restores almost all of your spent resources. For a deeper look at how the demo build's resource economy works across multiple chapters, the tenebris somnia demo walkthrough covers the system in more detail.
Three Mistakes That Cost You the Demo Ending
The demo ending is a fixed cutscene that plays after the Apartment Entity dies, and it is the same sequence regardless of how many optional items you picked up. The ending is unreachable only if you fail the boss fight with no resources, or if you soft-lock the back corridor by skipping the dresser mirror. Below are the three most common mistakes that prevent first-time players from reaching the ending.
| Mistake | Where It Happens | Consequence | Fix |
|---|---|---|---|
| Activating the projector with only 2 reels | Living room | Wastes 1–2 min backtracking | Pick up the third reel first |
| Skipping the bedroom mirror | Bedroom | Right door stays locked | Inspect the dresser mirror |
| Using all heals before the boss | Any room | Boss fight is unwinnable | Hold 1 heal for the arena |
Why the Apartment Walkthrough Route Is Order-Sensitive
The apartment walkthrough in chapter 5 looks like a free-roam segment, but it is actually a tightly gated sequence with a single correct object-interaction order. The game does not give you a quest log or a waypoint marker, so the only feedback is whether a door opens or a puzzle activates. According to community data, the average first-time player spends roughly 8 to 12 minutes longer in chapter 5 than an experienced player, and most of that gap comes from backtracking caused by missed object triggers rather than combat losses.
The tenebris somnia story walkthrough covers the same gating logic across the full game, but the apartment walkthrough in chapter 5 is the cleanest example of how the system works in isolation. If you can clear chapter 5 without backtracking, you will have a much easier time with the later chapters, which layer additional puzzle dependencies on top of the same order-sensitive framework.
Frequently Asked Questions
How long does chapter 5 take on a first run?
A first run of the tenebris somnia chapter 5 walkthrough takes roughly 18 to 25 minutes, depending on how many times you backtrack through the apartment. An optimized route using the correct puzzle order compresses the same content to about 14 minutes, according to community data from demo runs.
Do I need all three film reels to open the back corridor?
Yes. The projector only activates when all three reels are inserted, and the back corridor door is locked until the projector runs. Skipping any reel soft-locks the chapter progression, and the only way forward is to backtrack and find the missing reel.
Can I skip the kitchen fuse box and still reach the demo ending?
Yes, but you will lose the bandage stack from the office safe, which makes the boss fight noticeably harder. The tenebris somnia demo walkthrough route treats the kitchen fuse box as a mandatory step for any first-time player who is not confident in their resource management.
What is the best weapon for the chapter 5 boss?
The pistol is the best weapon for phases 1 and 3 of the boss fight because its range matches the boss's safe distance. Melee is only optimal in phase 2, when the boss charges into mid-range. Burning all your pistol ammo on phase 1 is a common mistake that forces a much harder phase 2.
Is the chapter 5 demo ending different from the full game ending?
No. The tenebris somnia demo ending after chapter 5 is a fixed cinematic that plays once the Apartment Entity dies, and it is identical across all demo runs. The full game continues past chapter 5 with additional chapters and a separate final ending.